


Introduction
Software testing over time has morphed from a convenience to a necessity as netizens grow increasingly impatient with suboptimal software. With so many alternatives in the market, there is an explicit ultimatum placed on developers and tech companies to deliver dependable software solutions or rapidly lose market share.
In the past, it was enough to have a software tester. However, it is becoming abundantly clear that there will always be scope for error so long as humans are the ones to run repetitive tasks indefinitely.
Automated tests have become necessary for ensuring accurate reports on the quality of a software solution regardless of the size. In this article, I plan to briefly explain automated testing using Cypress, share some insights into setting up automated tests, and discuss a tool to pair with Cypress.
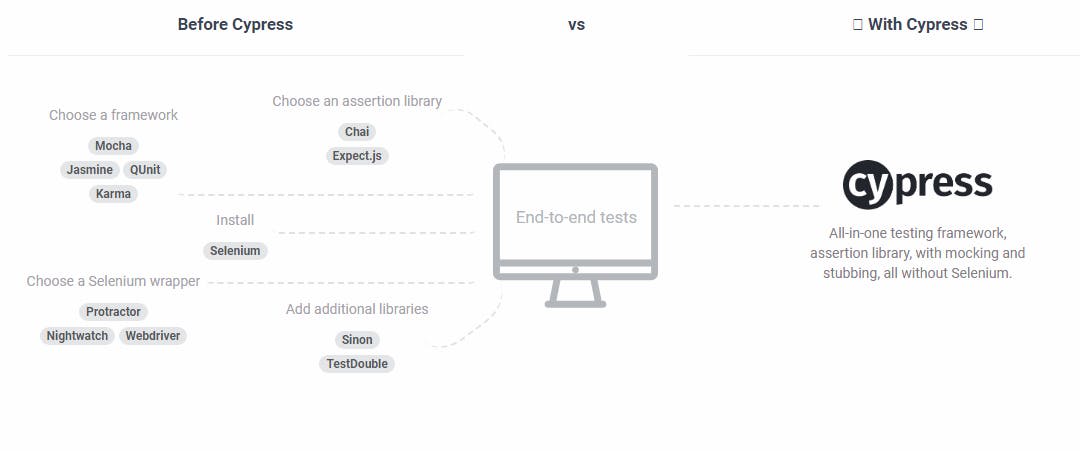
I decided to write about the Cypress test automation framework because it is built using Javascript and aims to test anything that runs on a browser (which seems pretty suitable for this article). For this tutorial, you will need VS Code and NodeJS installed on your device.
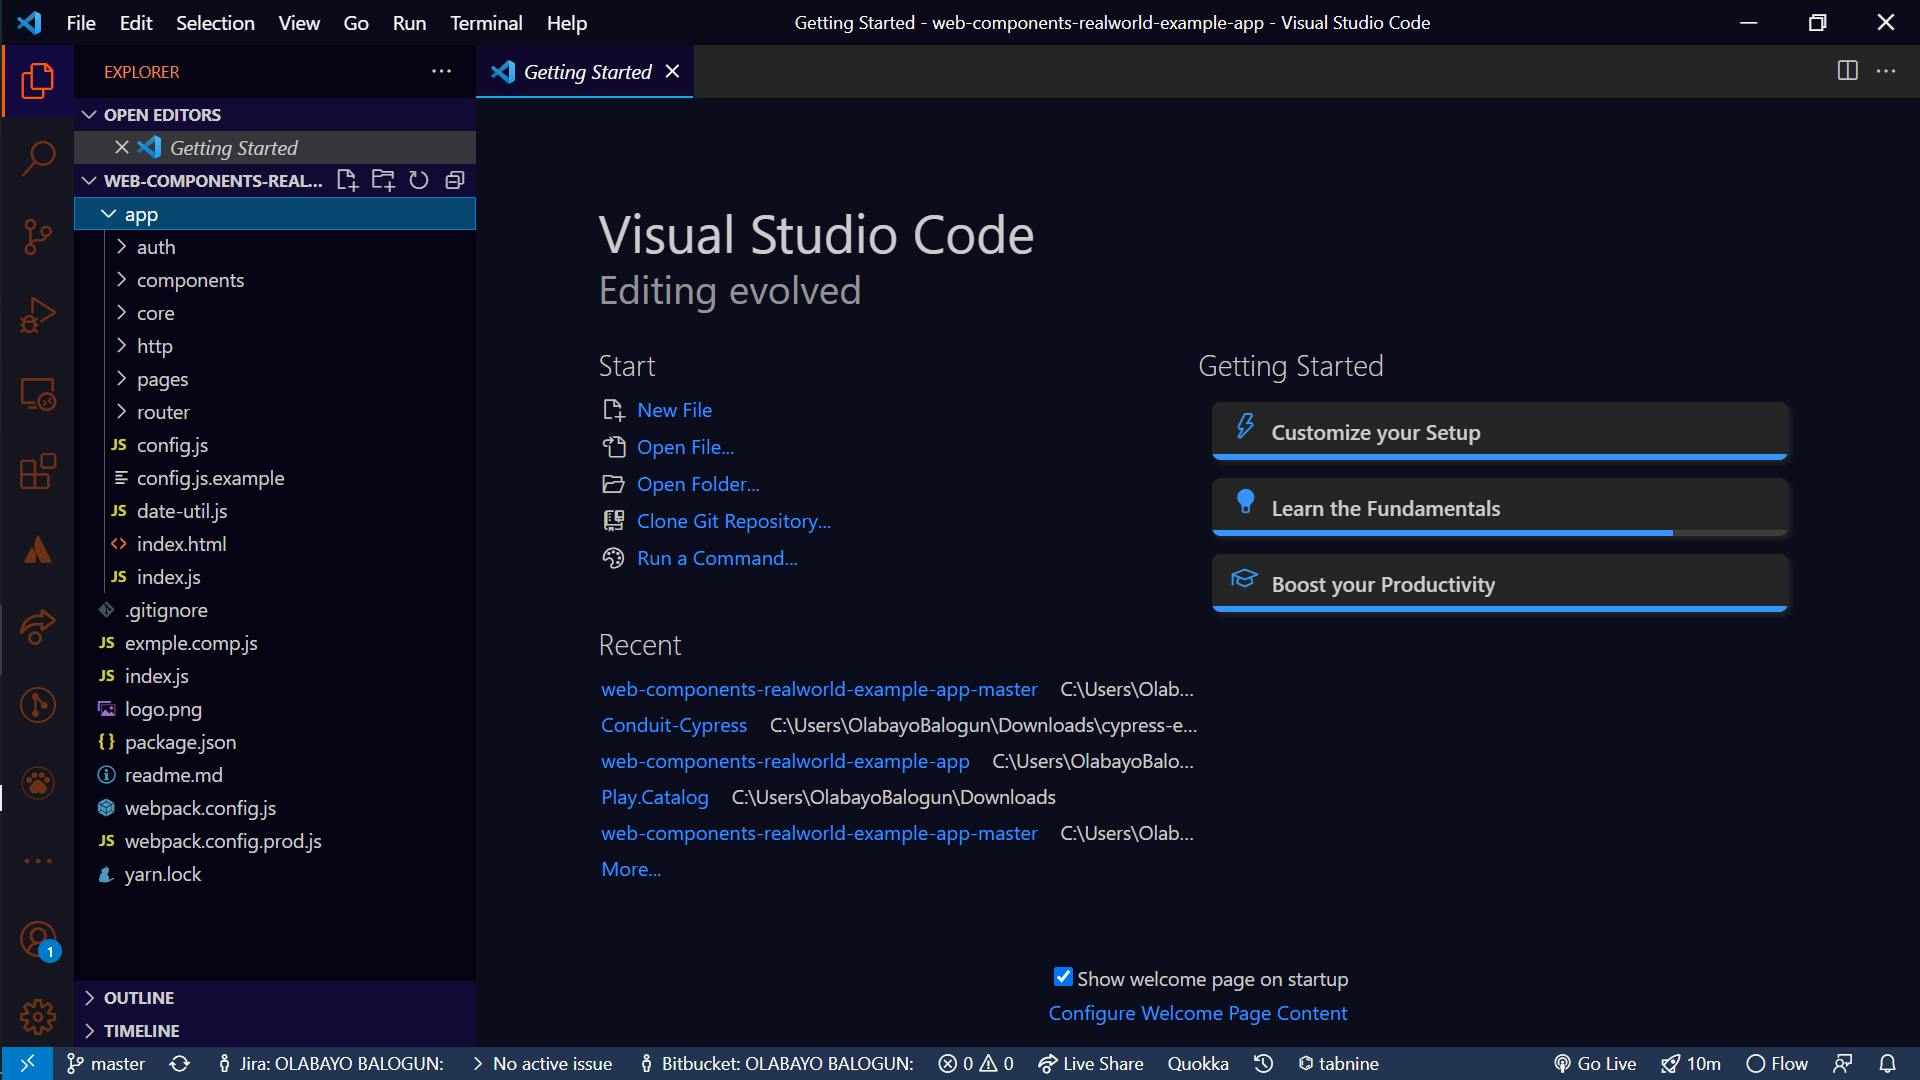
To demonstrate Cypress, we’re going to use a code I found on Github for a fully developed project that was built using Vanilla Javascript. Regardless of whether you cloned the repo or downloaded the zip folder, you should end up with the following folder structure (if you expand the “app” folder).
Installing Cypress In Our Project
It’s worth mentioning that when we properly install Cypress, we get a couple of automated tests scaffolded into our project, which we can use to demo Cypress. We will be building a small test in addition to the scaffolded test to try our hand at writing automated tests. Enough words, let’s get started with our VS Code.
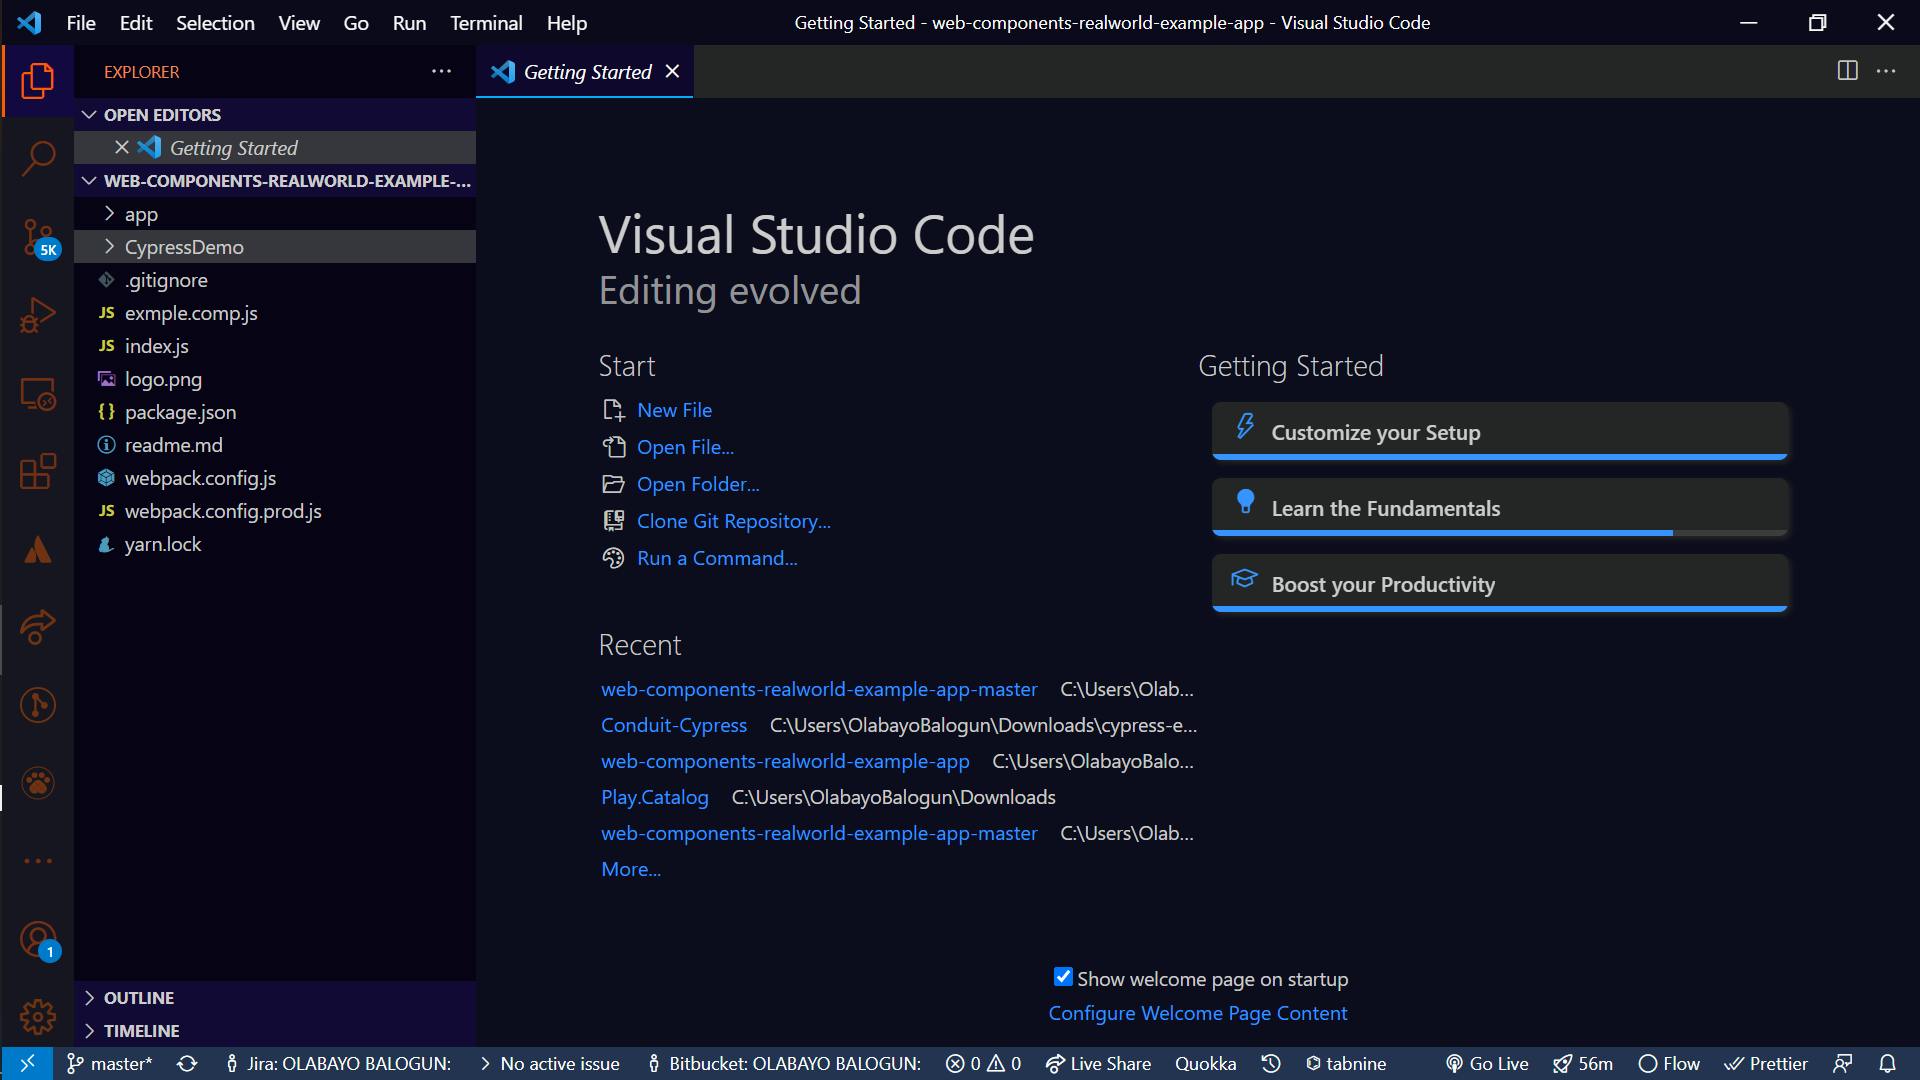
Step 1: Create a new folder in your project folder—I will be naming the folder “CypressDemo” for this tutorial (you can give yours any name you want). Note that we will be referring to this folder as the “test folder”. Below is a screenshot of my folder structure.
Step 2: Launch your VS Code terminal (hint: ctrl + J should do the trick) and confirm that the path displayed in the terminal matches the location of the project folder.
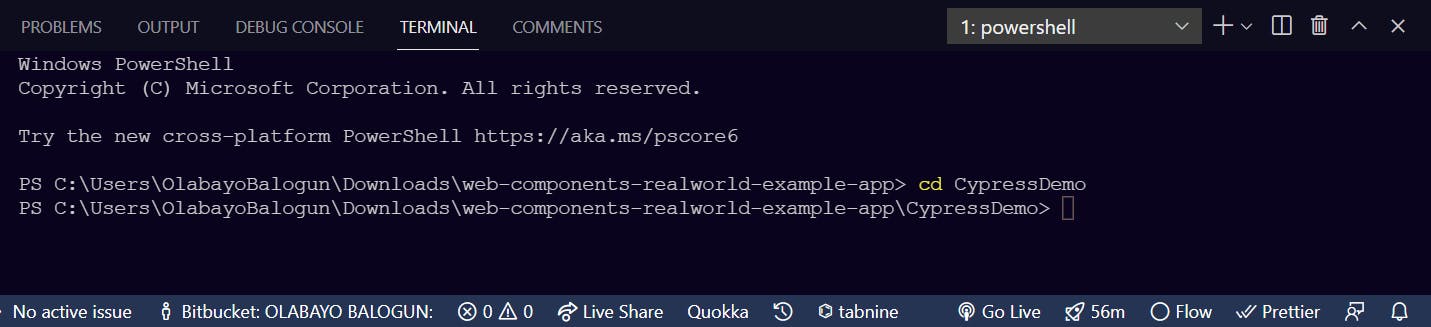
Step 3: Using your terminal, navigate to the test folder, which in my case is CypressDemo (hint: typing cd CypressDemo should do the trick). Your terminal path should look similar to the one in the image below.
Step 4: We need to create a “package.json” file for the test folder. Run the
npm init command in your terminal (hint: you don’t need to answer the questions that are asked, just press the enter key say ten times, and it should get you through the questions).
Step 5: While we’re still in the test folder path in our terminal, we need to install Cypress. To do that, we have to run the npm install cypress --save-dev command. (It should take less than a minute to install depending on your internet speed.)
Step 6: Let’s test Cypress out now, shall we? To do this, we need to run the npx cypress open command. This will generate some sample tests for you. You should get a popup that looks like this:
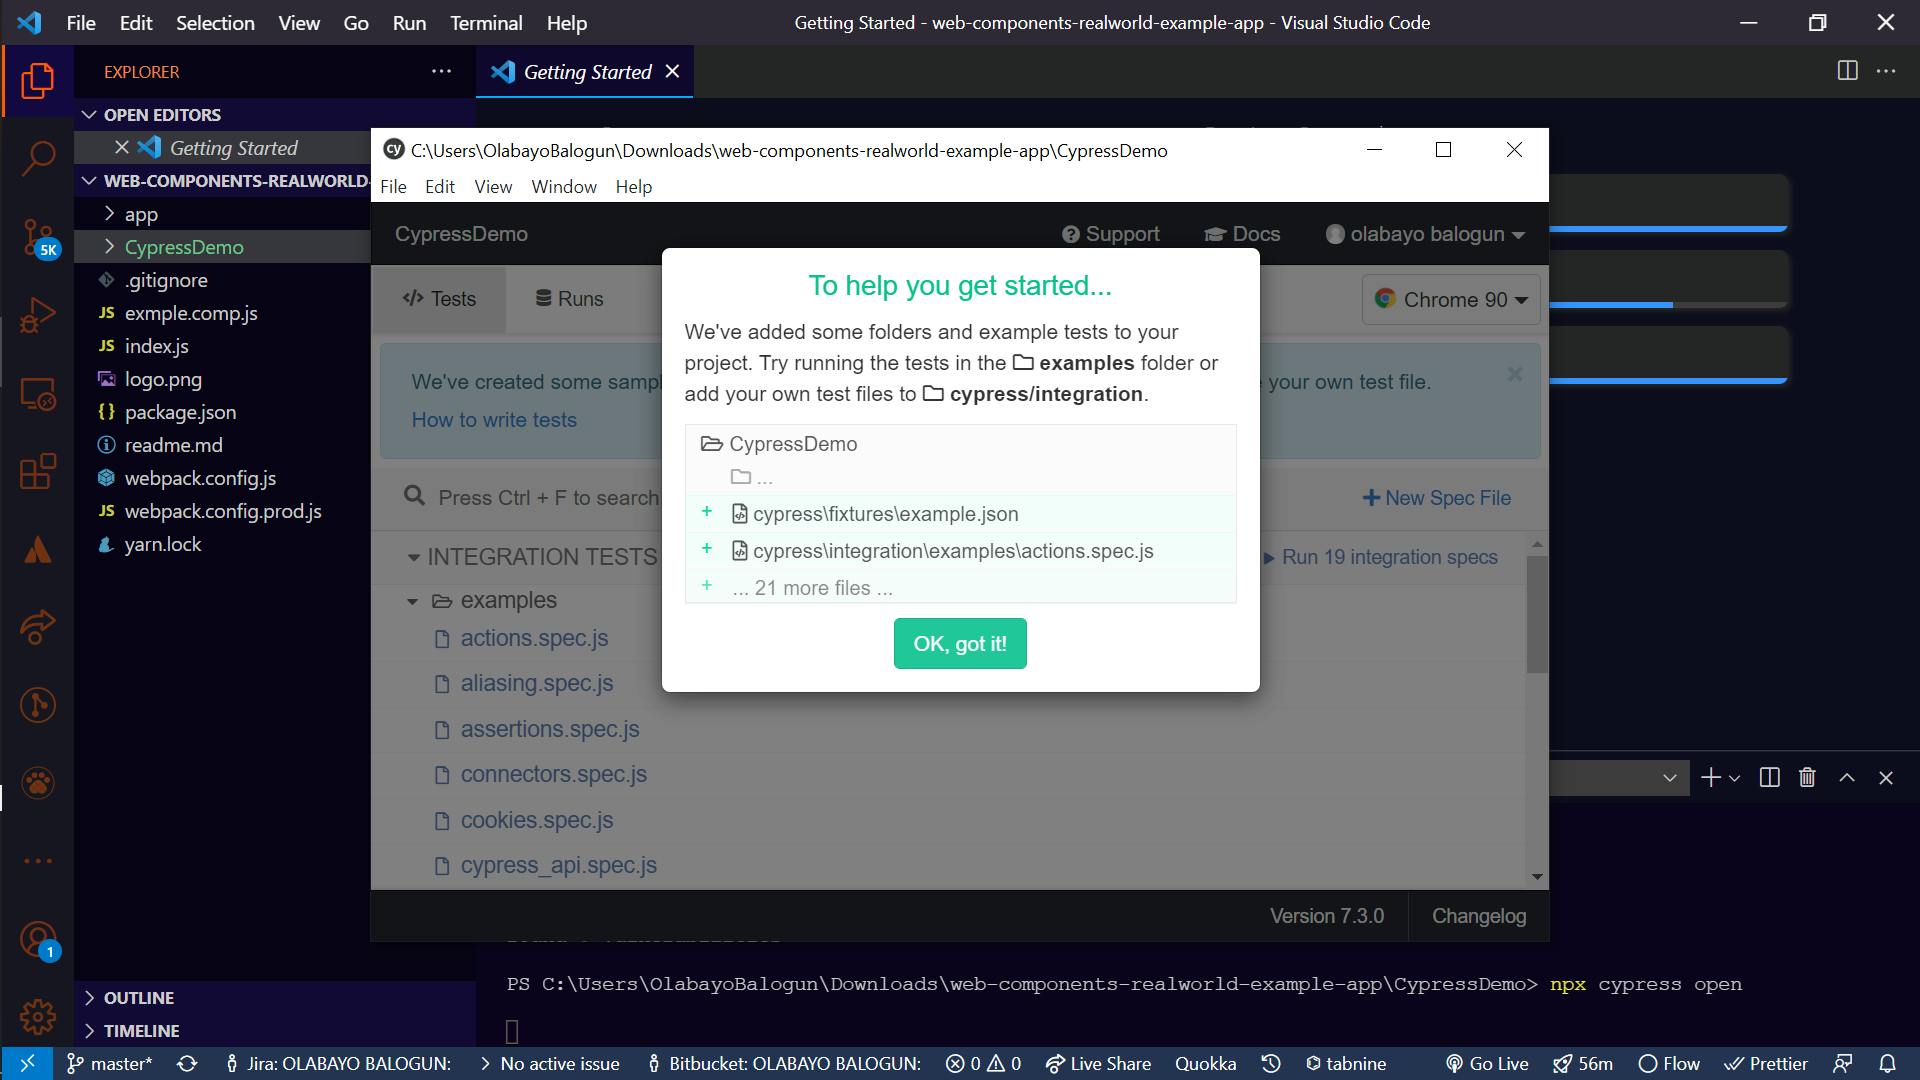
Step 7: Click the “Ok, got it!” button that is displayed.
Step 8: Click the “Run 19 integration specs” (hint: a browser window will pop up showing you the tests being run).
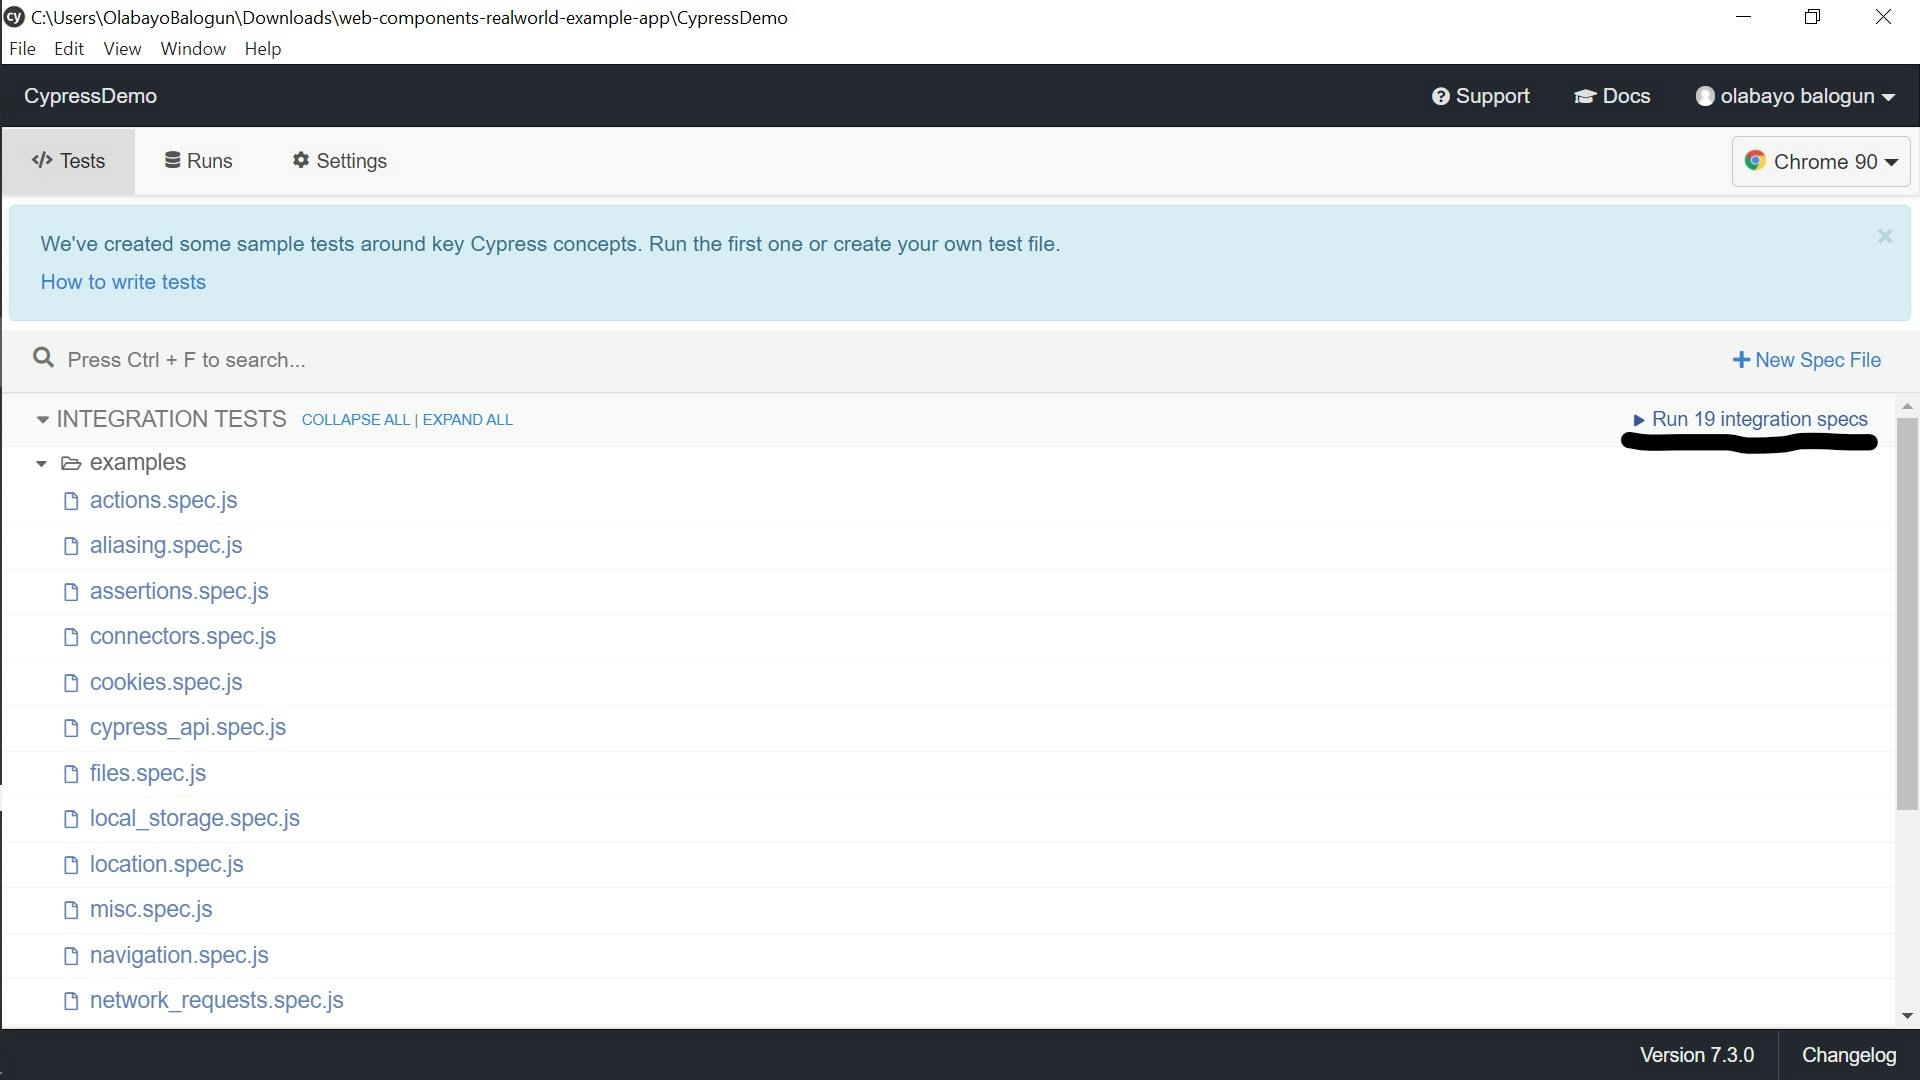 The speed of the Cypress automation tests is rather laudable and lends credence to the utility of these tests in speeding up the quality assurance of code and product development by extension. Let’s get to creating a small test that should illustrate the process of creating a test using Cypress.
Installing Yarn in Our Project
Step 1: Open a new terminal and run the command npm install --global yarn.
(Note: You don’t have to open a new terminal if you closed your Cypress test, just ensure you remember to run npx cypress open when you’re done installing Yarn.)
Step 2: Check the installation status of Yarn by running the command yarn --version in your terminal.
Step 3: Run the command yarn start in your terminal to start the project.
NOTE: If you stopped your Cypress test from running, now is a good time to restart it by opening a new terminal and running the npx cypress open command.
Writing An Automated Test Using Cypress
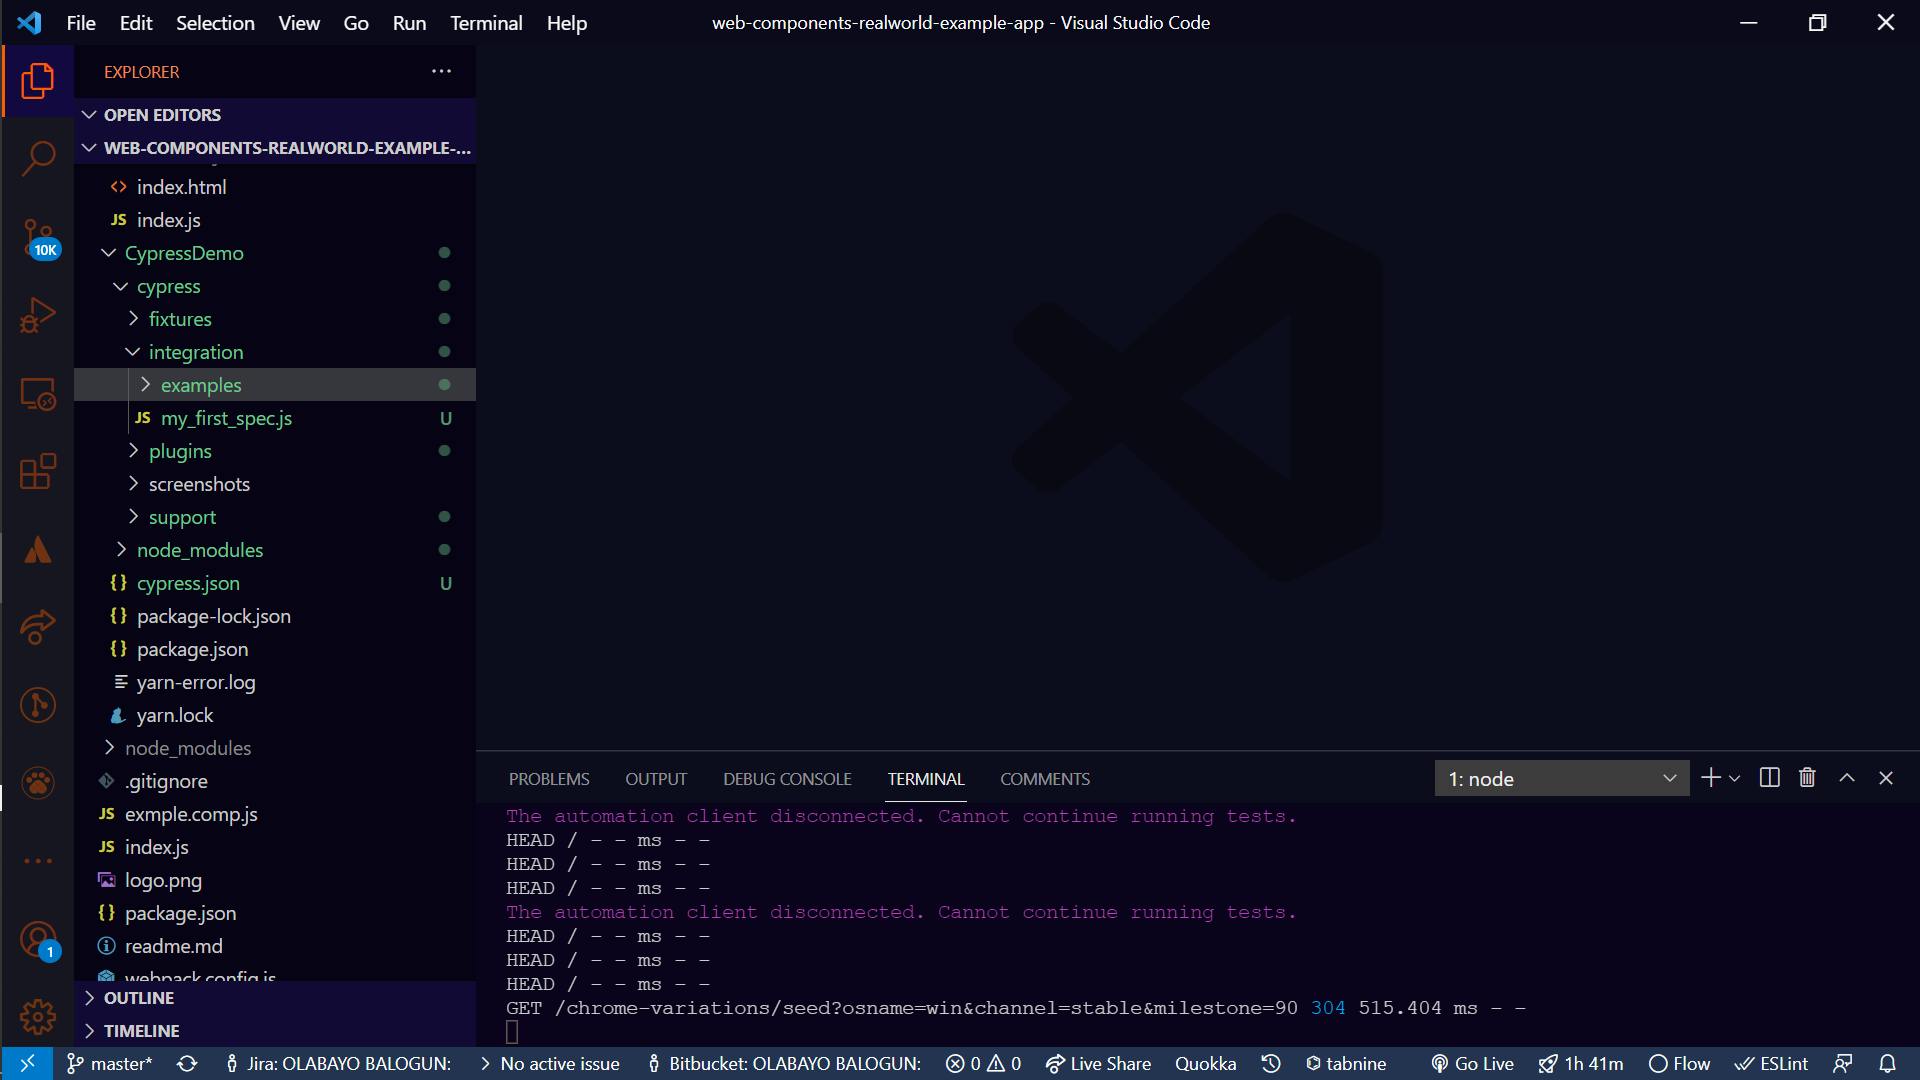
Step 1: Our tests must be stored in the “Integrated” folder, which is present in the “Cypress” folder. Our “cypress” folder is inside the test folder (which in my case is “CypressDemo”). I’m naming my test file “my_first_spec.js”. By convention, test files end with the suffix “spec.js”. Your folder structure should look similar to the screenshot below:
Step 2: Paste the code in your test file. Recall that mine is named “my_first_spec.js”. (Hint: Many comments help explain what is going on in the code.)
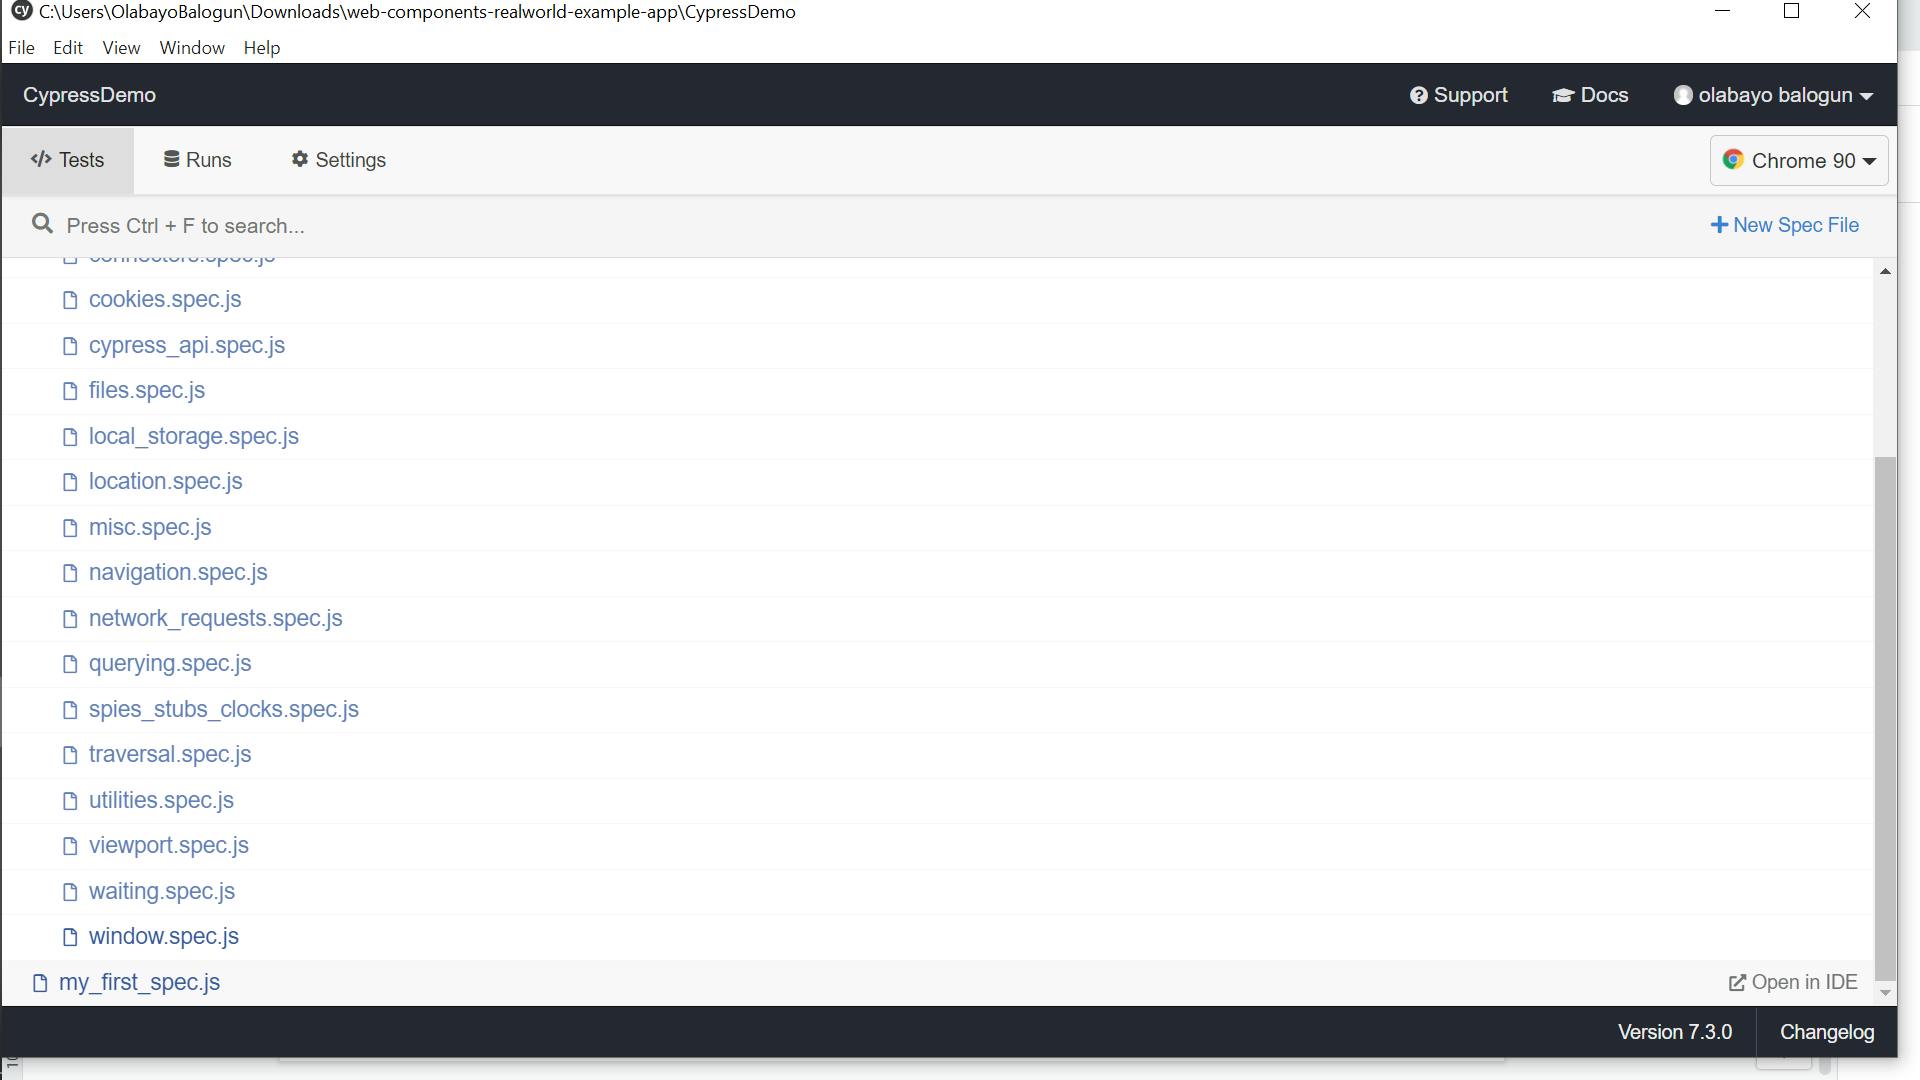
Step 3: Check your Cypress tester. It runs in the background and renders every test you add to your project file in real time. You should have a project file that looks similar to the one in the screenshot below (if you scroll down):
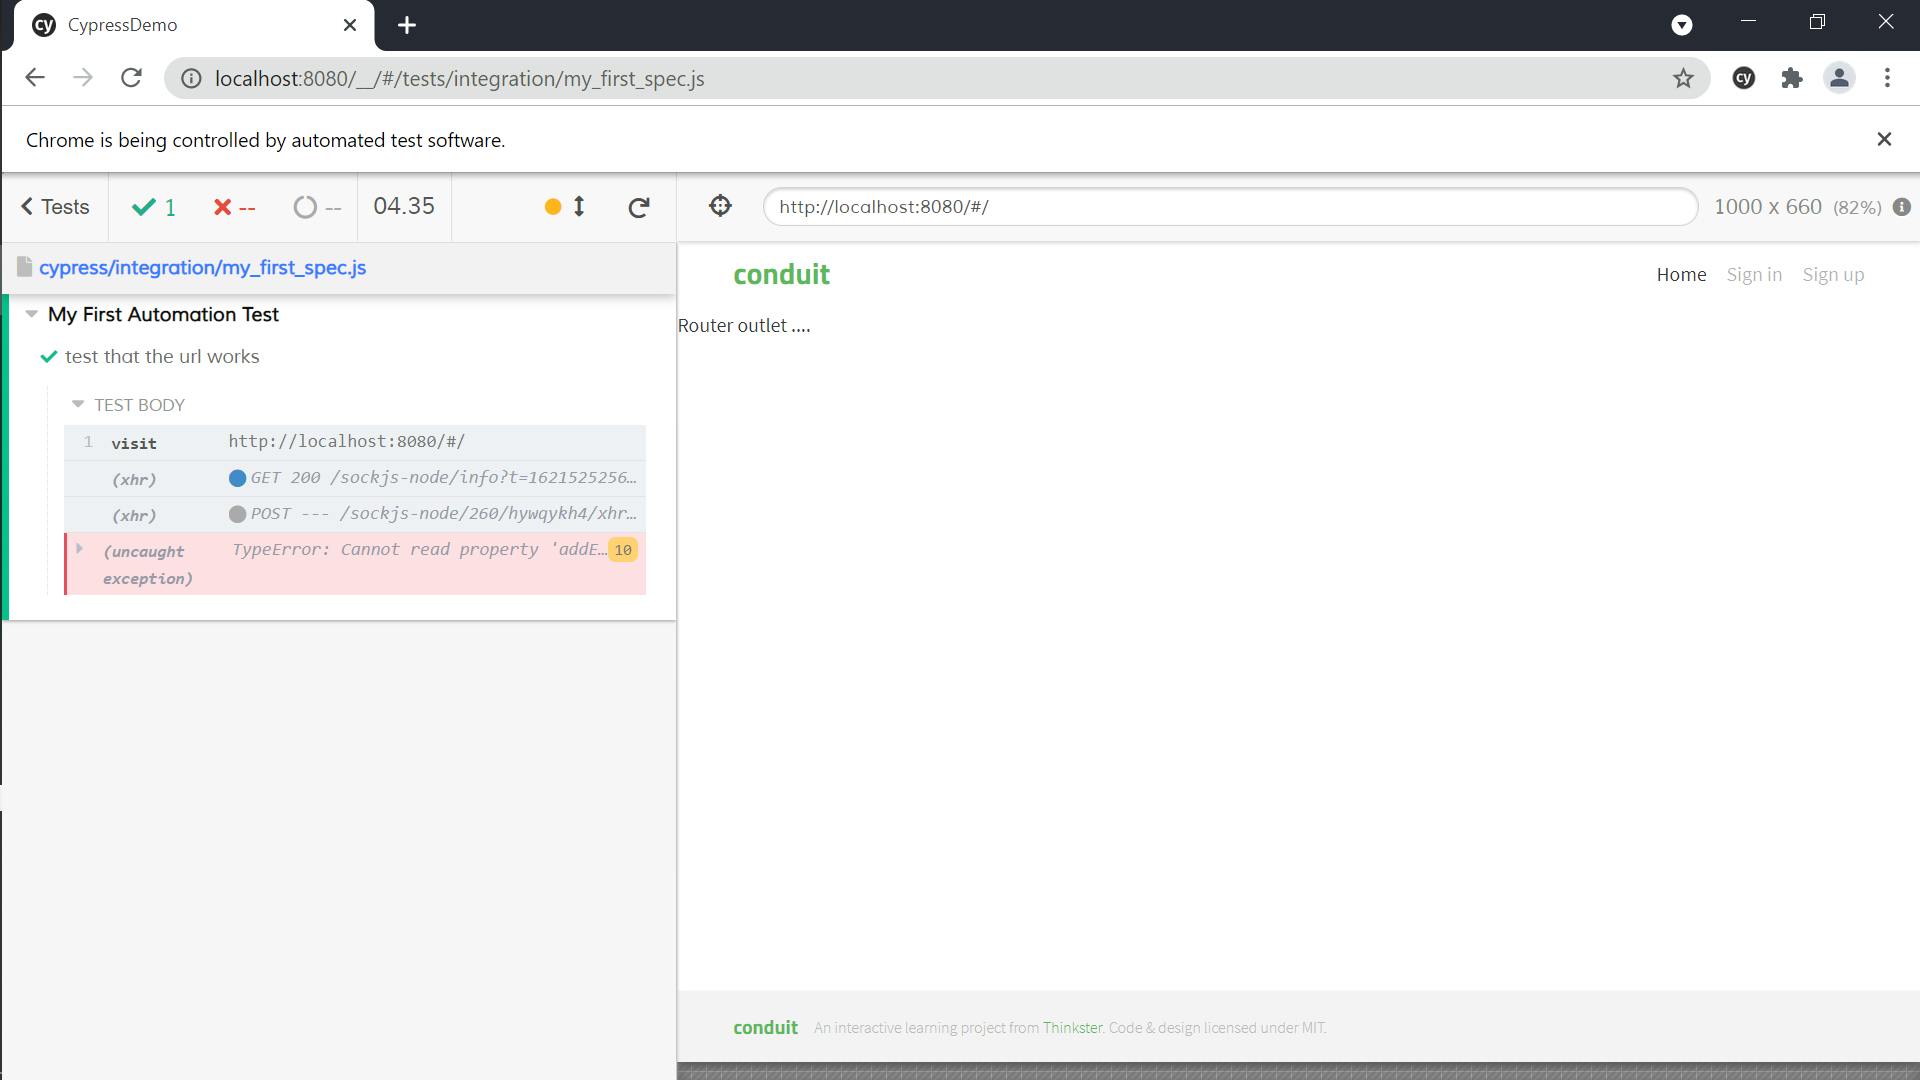
Step 4: Click on the new test file (“my_first_spec.js”), and a browser pop-up will run the test. You should see something similar to the screenshot below;
Key Takeaways
I learned a lot about the benefits of Cypress:
- It is excellent for any code that runs in the browser.
- Cypress is one of the most straightforward test automation tools to set up (something you just observed).
- You have a great debugger in Cypress. It can significantly reduce the time developers spend debugging.
- Cypress is really fast when compared to software testers and a lot of automation tools out there.
- Cypress is open-sourced as such. It has tons of contributors and an active community that ensures you don’t struggle with any problems using Cypress.
Getting More out of Cypress
As a result of the fact that there are software solutions built for platforms other than the web, an all-encompassing automation test must be resorted to when creating multi platform solutions. After much research, I have concluded that Perfecto is the most suitable offering available.
Perfecto is an automation testing tool for web and mobile apps. It extends the utility of automation testing tools like Cypress (and others) by offering tests on real mobile devices, virtual machines, Macs, simulators, and emulators. What’s more, it works with and extends most management tools that developers and product development teams use, making it easier to pair them with Perfecto seamlessly.
If customer support is a big deal for you (and it should be if you’re paying for software), then Perfecto is excellent. I got a call from them shortly after registering on their platform, and their support staff was really helpful. Let’s get into the pros and cons of Perfecto, shall we?
Advantages of Pairing Perfecto with Cypress
- Perfecto is great for working with cross-platform devices, web, desktop, or mobile.
- It integrates well with many popular tools like Visual Studio, Slack Android Studio, IntelliJ, Eclipse, Jira, XCode, Bitbucket, Gitlab, etc.
- It integrates well with other automation testing frameworks such as Appium, Espresso, and Quantum.
- It extends the utility of other automation testing tools like Cypress, Selenium, Mocha, etc.
- It works great with continuous integration tools like MicroFocus, Bamboo, Teamcity, Azure DevOps, and Jenkins.
- It compliments test execution frameworks like Protractor, JUnit, NUnit, TestNG, WebdriverIO, Jasmine, and Nightwatch.
- It has a very user-friendly dashboard and provides amazing debugging features.
- It can run automation tests on so many devices simultaneously, thus speeding up the process of testing.
Final Thoughts
Automation testing is a necessity more than a luxury. If you feel it’s expensive, you should calculate the lost value in increased production time and debugging time. Choosing a good automation testing tool requires careful thought. You need to understand your use cases and edge cases. A product meant to operate only on the web doesn’t need Android or iOS testing features (as long as you’re sure you won’t be extending your application to these platforms). I hope this has been an insightful article. It was certainly fun to write. Let me know what you think.